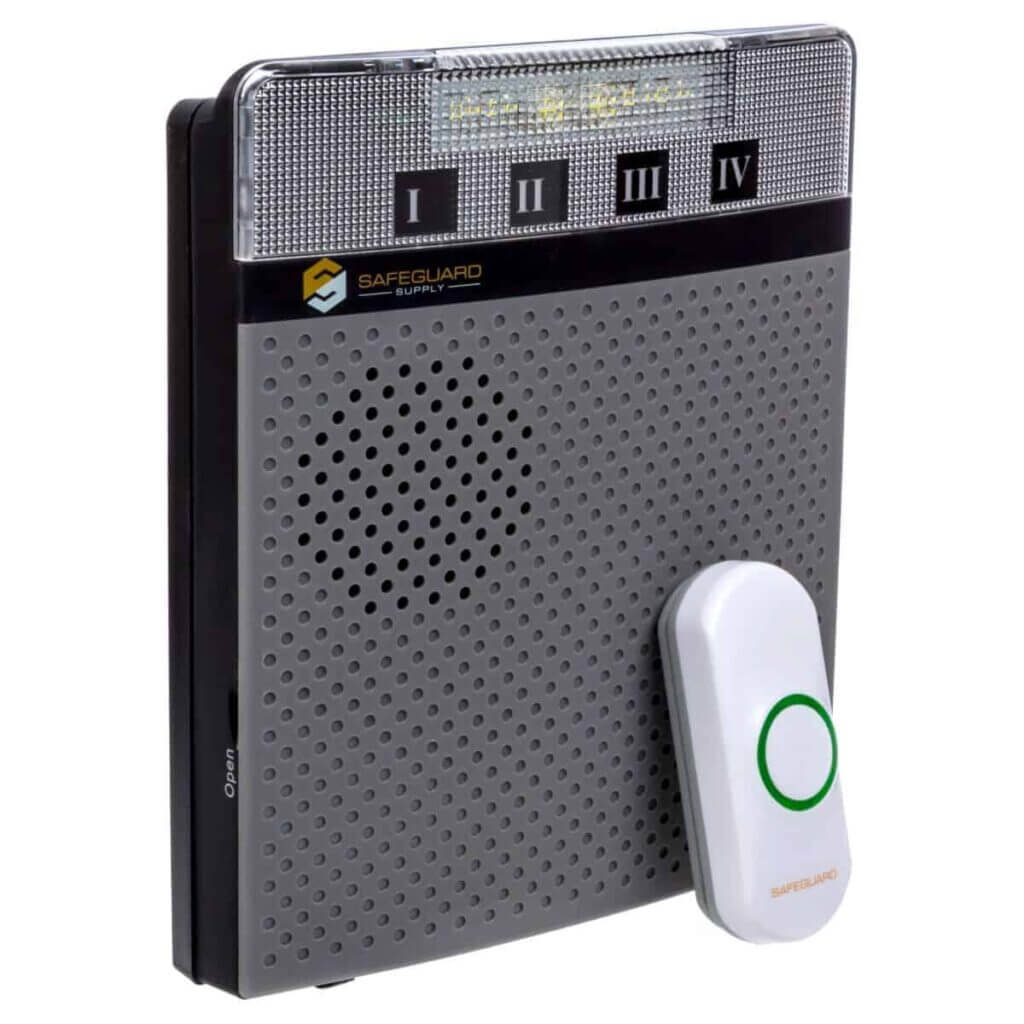
The product shown above is a part of the LRA Series of products by Safeguard Supply. Featuring a volume control knob and a bright strobe light (you can turn the strobe on and off), this is one of the loudest products we carry. The receiver shown here is the LRA-DCRX receiver that may be operated by c-sized alkaline batteries or plug-in (not included).
To see the full product description and more details about this product, please visit the LRA-D1000 product page.
Need an entrance alert with enough power to penetrate metal doors and travel a long distance?
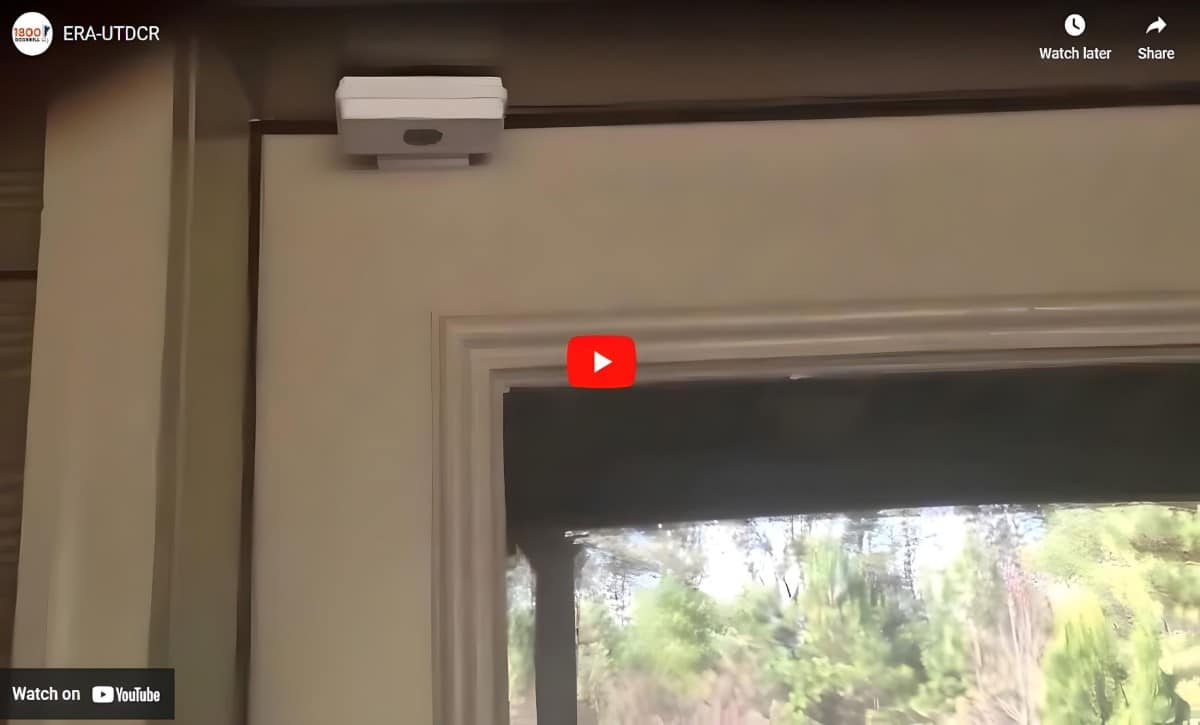
The ERA-UTDCR is a wireless entrance alert product created by Safeguard Supply and featured on secure.1800doorbell.com specifically designed for business doorbell use. Most contact-based door/window entrance alerts have trouble when attached to metallic door frames. The wireless signal bounces off the metal and due to limited power doesn’t seem to have the power to reach the receiver.
The extra power of the ERA-UTDCR will reach a receiver up to 4,000 ft. away. For more information on this product, please visit our website at secure.1800doorbell.com.
The ERA-UTDCR is a long-range wireless door chime kit specifically designed for warehouse and business use. Most wireless products do not have the range needed to work effectively in a warehouse or business environment. The ERA product line has a wireless range of up to 4,000 ft. from transmitter to receiver.
This range ensures reliability and that your kit will offer the functionality of wireless products with the reliability of wired products. The kit may also be expanded by adding more receivers and transmitters, as well as connecting devices like strobes, sirens, and buzzers to the live 12V DC outputs on the receivers.
Find An Extended Range Wireless Doorbell or Entry Alert For Your Business
Finally, a long-range doorbell that has the extended range most other doorbell systems lack. With a range of up to 4,000 ft., this door chime kit is perfect for business locations where environmental factors will limit most other door chime systems.
Please note, that this video shows an older version of the product that has been discontinued. The newer product, the ERA-UTDCR by Safeguard Supply is a newer, improved model with a range of up to 4,000 ft. Programming and other features are similar. Visit the product page for more details.
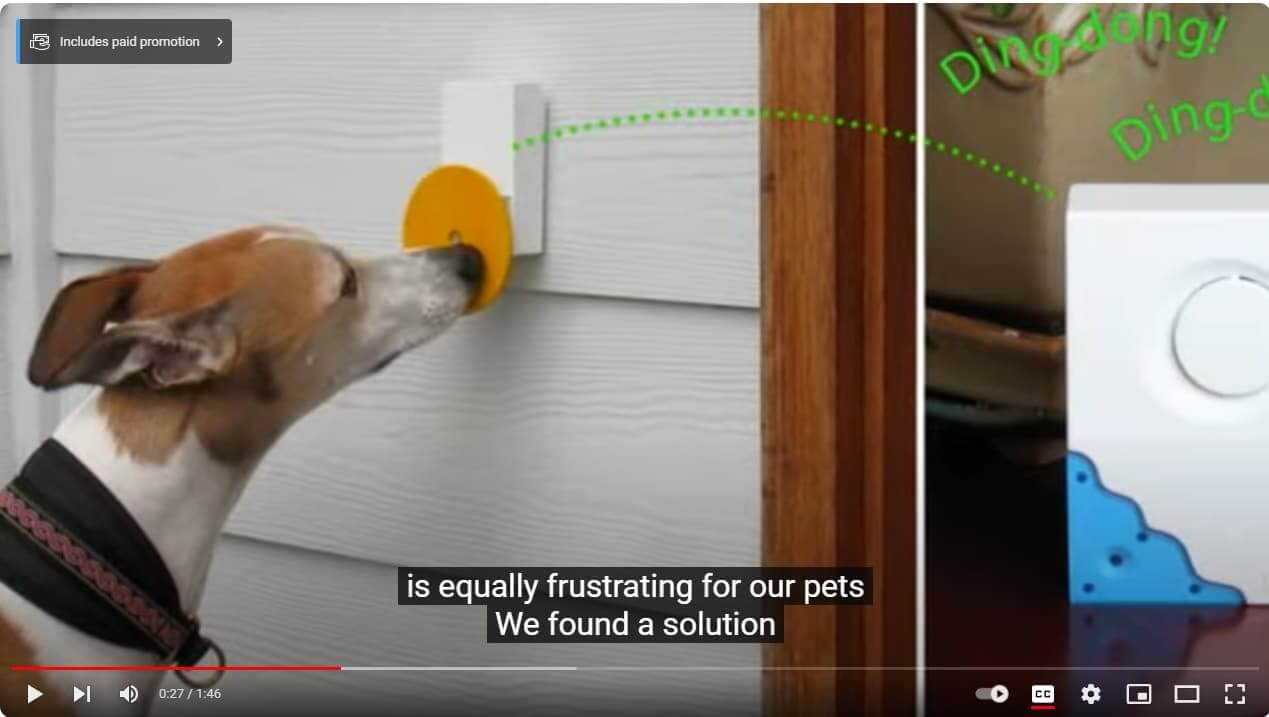
Female Speaker: Dogs are our faithful companions. They’re indispensable members of our families. Yet most dog owners are familiar with one vexing problem. Dogs scratch doors to be let in or out. Nice doors get damaged and are expensive to replace. It’s frustrating for dog owners and the experience is equally frustrating for our pets. We’ve found a solution. Introducing the Pebble Smart Doggie Doorbell, a wireless doorbell designed for dogs. Darlene: Hi Kozi. Thank you. Let’s go. Want to go out? Good boy. OK. Having the little doggie doorbell works great because now she can tell me and I can hear it from any room in my house, even upstairs. Female Speaker: Pebble Smart Doggie Doorbell is easy to install and no tools are required. The built-in treat holder makes the ringing process quick and fun. Male Speaker: Good girl. Darlene: Let’s talk about minutes maybe and it’s so intuitive for them. Female Speaker: Dogs no longer have to scratch, jump, or squeeze to get in. It’s a new way for our pets to communicate with us. Darlene: You’re so awesome. Female Speaker: And it’s a great bonding time. Darlene: I love the doggie doorbell. I don’t think we can do without it now that we have it.
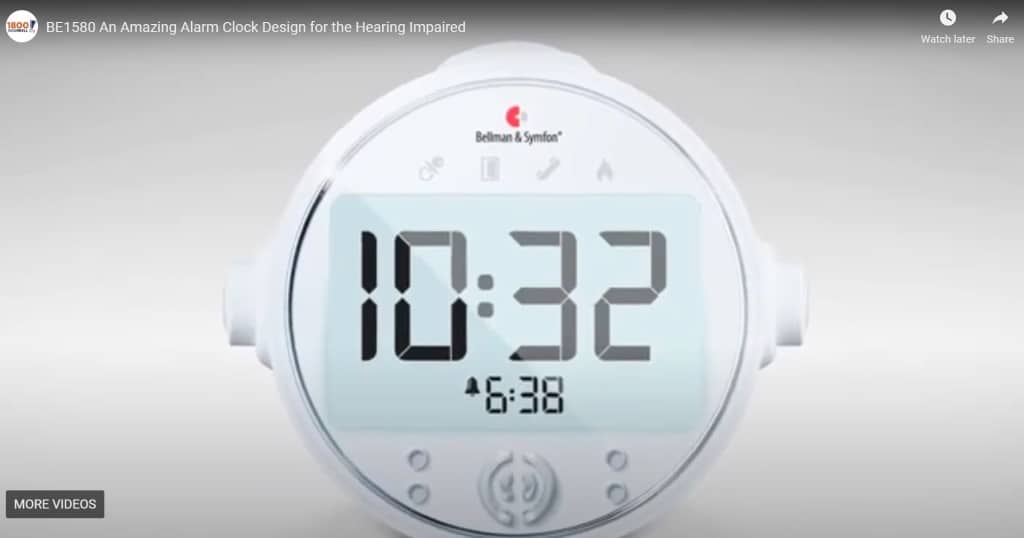
Bellman & Symfon Alarm Clock Video Review Transcript
Fredrik Ahlström: With the new range of alarm clocks from Bellman and Symfon, you no longer have to worry that you might oversleep because you can choose to wake up from a loud alarm, a high intensity flashing light, a strong vibration or why not all three at once.
Anders Lenning: The alarm clock from Bellman and Symfon is equipped with a speaker delivering more than 100 decibel sound output. In addition, the alarm is sweeping through multiple frequencies. The specially designed alarm will therefore cover most of the hearing losses. We have added four high-intensity LED flashes. That is the same type as you will find in the camera flash in smartphones.
Waking up to flashing lights is a great alternative to the sounding alarm. There is also a night light beacon that emits a discreet blue light. The beacon will guide you back to the bed if you are up at night.
A powerful bed shaker is also included in the package. Just place the bed shaker under your pillow and it will wake you up with strong vibrations when the alarm goes off. In addition, the bed shaker itself emits a high sound. That is a unique feature. Fredrik Ahlström: The alarm clocks are available in three different models, the Classic version for the price-conscious, the Pro for those who want more, and the Visit version which allows you to connect your alarm clock to the Visit alerting system.
The Visit alarm clock will give you a safe and relaxed sleep. It will make sure that you don’t miss any important signals in your home. Besides waking you up with sound, light, and vibration, it will also alert you if somebody is at the door, on the phone or if your child needs attention, or even if there’s a fire in the house.
The alarm clock from Bellman and Symfon is inexpensive insurance that will make you and your family sleep well.
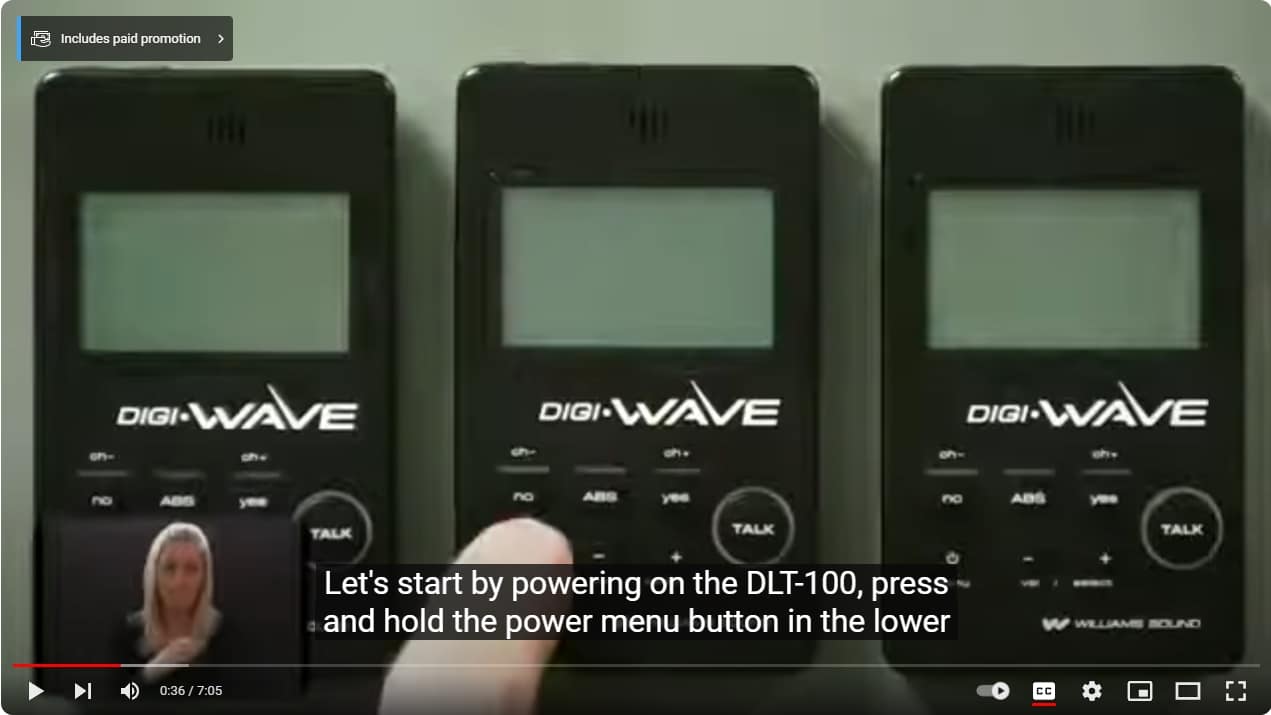
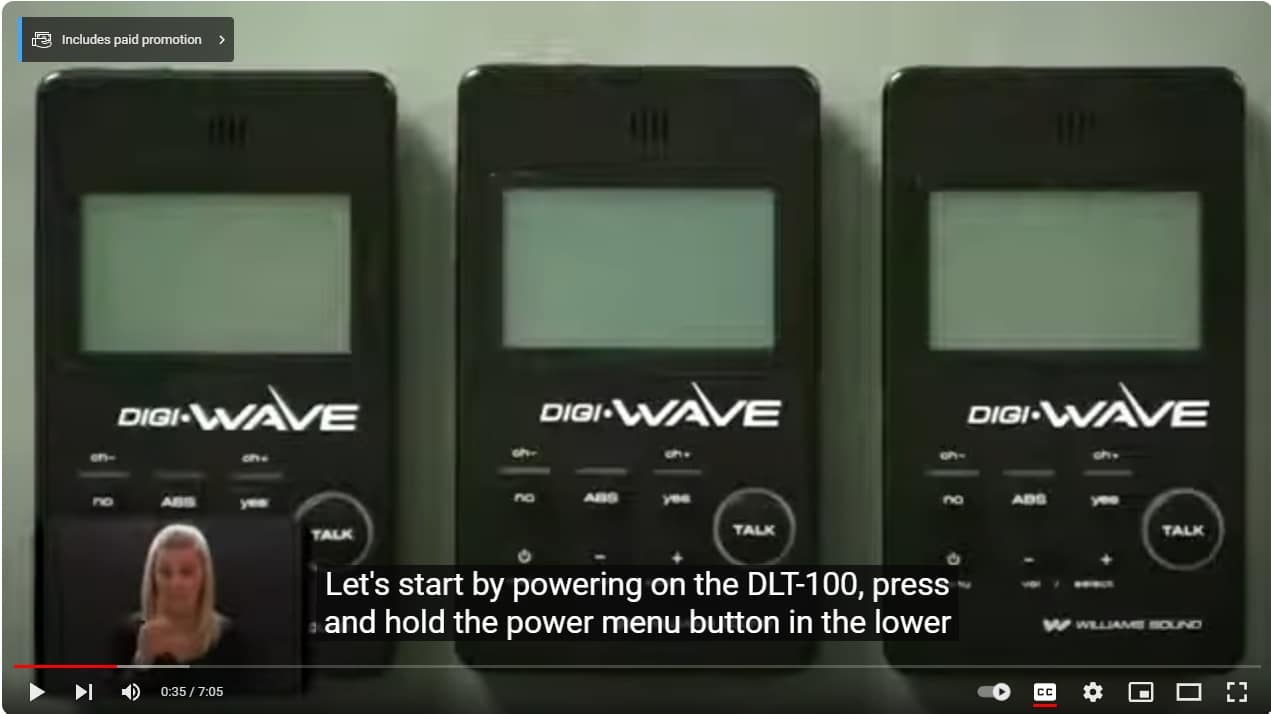
Hi, my name is Daryl Dankard I’m the Technical Training Manager at William Sound. Welcome to the Digi-Wave instructional video series. In this video, I’m going to demonstrate some of the features and functions of the Digi-Wave system. Let’s start by powering on the DLT-100, press and hold the power menu button in the lower-left corner for about three seconds or until the unit powers on.
We recommend you power on the chairman master unit first. Once they’ve all been powered on the display will show several different icons. The main unit is called the chairman master, this one will have MAS in the top right corner and below that chairman. All other units in this group will have SLV in the top right corner. These are the slave units, these units pair with the chairman master they will not operate if the chairman master is off. But the Digi-Wave also has an auto shut-off function, press and hold the power menu button on the chairman master unit for about three seconds or until the unit powers off.
All other units with the SLV icon will flash for about two minutes and they will automatically power off. To connect your microphone and headphone to the DLT-100 there are two jacks located at the top of the unit. The outer jack or the red color jack is for your microphone, and the inner jack or the green color jack is for your headset, earpiece, or neck loop. Now that you have all the units powered on and the microphone and headphones plugged in you’re ready to use the system. There are a few details I’d like to cover about the talk function and priorities among the chairman master unit and the slave units within the group.
The chairman master has top priority and cannot be bumped off by any unit. On the chairman master unit press, the Talk button does not hold it the red light is lit. On one of the slave, units press the Talk button you’ll notice the red light is lit on that one.
This indicates the microphone is active on these two units these two units can now talk to everybody within the group individually or simultaneously. On a second slave unit press the Talk button you’ll notice the first slave unit got bumped off. The chairman master unit remains on. These two now can talk to everybody within the group simultaneously or individually.
If the chairman master is the only one that needs to be heard the operator can override the talk function. To enable this feature press and hold the talk button for three seconds on the chairman master unit. The red light on the talk button will begin to flash on all units. This overrides the talk function for all units except the chairman master. To shut this feature off press and hold the talk button again for three seconds on the chairman master unit. Talk function has now been restored for all units.
To adjust the volume of the listening level uses the volume plus button to increase or the volume minus button to decrease to your desired level. Depending on the person or the microphone volume may need to be adjusted on each unit. You can do this by pressing and holding the no button for three seconds. A number will be displayed volume flashing in the lower-left corner. The microphone volume level ranges from 0 to 63. We recommend that you do not exceed 50 some microphones may cause buzzing or humming. Use the volume plus button to increase the volume level or the volume minus button to decrease the volume level. Once you have it set to your desired level press and hold the on button again for three seconds to save and exit.
Digi-Wave also has a voting system or an all-call. This feature is activated by the chairman master unit by pressing and holding the ABS button for three seconds. The slave units can vote by using the top three buttons labeled yes, no, or abstain. All no votes will be counted on the left all yes votes will be counted on the right of the display of the chairman master unit. The count is not recorded electronically so this must be done manually.
To shut off the voting function press and hold the ABS button again for three seconds on the chairman master unit. The talk function is disabled while the voting feature is active only the chairman master can be heard. If the chairman master would like to take an attendance check before activating the voting feature he or she can press the power menu button once. The display will change from time to a C and a number ranging from 0 to 99. This is the total number of DLTs paired with the chairman master who has the ability to vote.
To deny access to programming mode on any unit passlock must be activated. To do this press yes yes no no within five seconds. Passlock will appear on the screen for three seconds after the key commands. Passlock must be deactivated to enter programming mode this is done by pressing yes yes no no again within five seconds. Passlock will not appear on the screen after the key command and the user is now able to enter programming mode and make changes as needed.
Tone control is another feature available on the digi-wave product. Press and hold the volume plus and minus buttons to access tone control. The letter T and a number flashing next to that will appear on the display. Using the volume plus or minus button to increase or decrease your tone controls ranging from one to nine. One indicates the most base response, five is our default setting or a flat response, 9 indicates the most trouble response. Once you have it set to your preference press and hold the more volume plus and minus buttons again for two seconds to save your settings.
Thank you for taking the time to view this video about Digi-Wave. If you have any questions regarding Digi-Wave applications be sure to view our other videos or we offer live personal training by video conference.
Contact Williams Sound directly at 1-800-843-3544, where available to answer your questions or provide solutions for your needs.
Williams Sound FM PPA T46 Voice Transmitter Video Transcript
Williams Sound helping people hear since 1976.
Hi and welcome I’m Daryl Dankard Technical Training Manager here at Williams Sound. You’re about to view one of our informative videos featuring some of the many products that make us your total solutions provider since 1976. I hope you find this video helpful and informative.
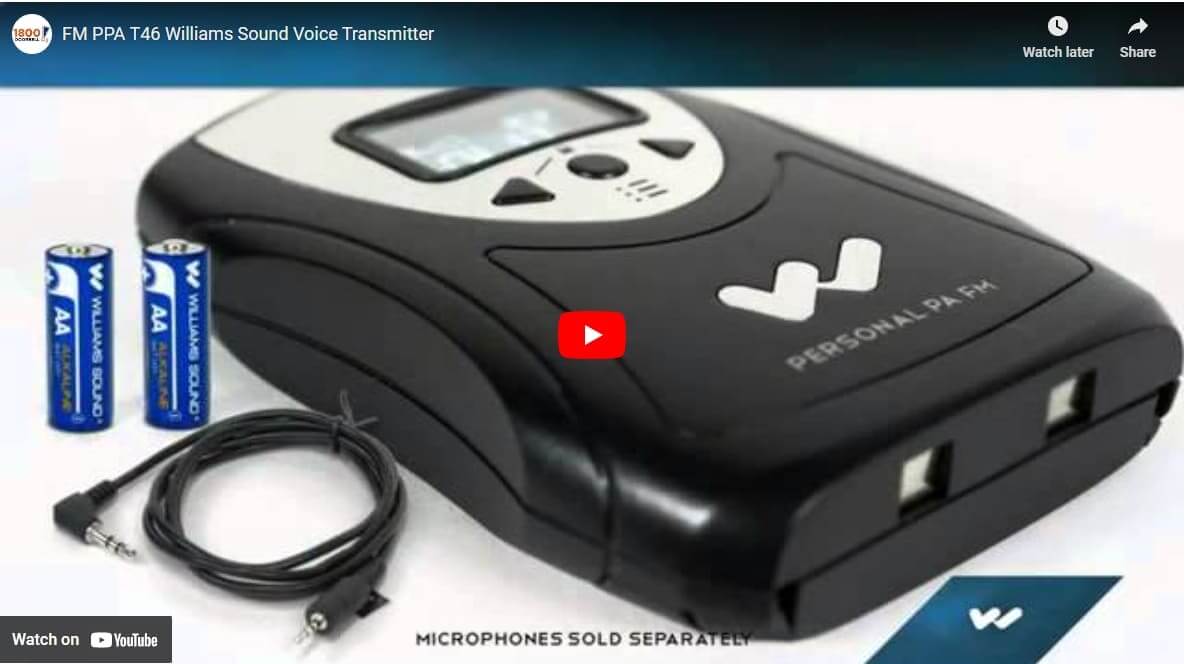
Lightweight and portable the PPA-T46 FM bodypack transmitter can broadcast voice or audio programs on one of 17 channels available in the 72-76 MHz range to listeners using any of our receivers. The PPA-T46 features a convenient dual pre-set mode that allows the user to easily switch between two different transmitting channels. Each pre-set with its volume, gain, and compression parameters.
The new OLED user interface is flexible offering an easy-to-read digital display showing the current operating status and menu information. The PPA-T46 also features separate microphone and auxiliary input jacks, push-button on/off mute controls, channel lock, and select-able compression. The PPA-T46 FM bodypack transmitter is ideal for providing hearing assistance to students in a classroom, tour guide participants, employees in training business meetings, lectures, or conference attendees.
The PPA-T46 is now featured in such packaged tour guide systems as the TGS-PRO-737 or the TGS-PRO-MULTI. The systems are available and ready to ship or we’re happy to create a custom system to suit your need Other packaged systems that include the PPA-T46 are the FM-ADA-KIT-37 and the FM-ADA-KIT-37-RCH which include rechargeable batteries and a charger.
PPA-T46 FM bodypack transmitter is packaged with one FM transmitter, two AA alkaline batteries, and 1 auxiliary input cable microphone sold separately. Some other features and benefits of the PPA-T46 include a range of up to 150 feet, meets ADA accessibility guidelines, proudly made in the USA, 30 hours of operation on Two AA alkaline batteries, lifetime plus limited warranty, ninety days on accessories. Thank you for taking the time to view this video if you have any questions regarding this system or other technologies be sure to view our other videos. We also offer live personal training using video conferences.
Contact William Sound directly at 1-800-843-3544 we’re available to answer your questions or provide solutions for your needs.
WS-WFM270 TV Talker Amplifying System Video Transcript
Williams Sound helping people hear Since 1975. Thank you for purchasing the TV talker by Williams Sound my name is Daryl Dankard Technical training manager with Williams Sound. I will show you what is included with your TV talker system and how to connect your TV talker to your television or other audio sources.
First, let’s look at what’s included with your system. Included in your TV talker system is 1 base station charger transmitter, 1 receiver such as this under the chin style receiver, 1 power supply for the base station transmitter, and a set of RCA cables to connect from your television to the base station transmitter. In the event your television does not have output jacks we supply a microphone.
The system also comes with 2 batteries 1 will be inserted in the bottom of the receiver the second battery will be inserted into either side of the base station charger transmitter. Also included are a quick user set-up guide and 1 user manual.
Now you are ready to connect the TV talker to your TV or another audio source. Start by plugging the power supply into a working outlet. The other end of the power supply will connect to the jack labelled DC12V located on the back of the transmitter. At this point on the front of the transmitter 1 light should be on this indicates the battery is being charged. The second red light will be on when the receiver is placed in the cradle of the transmitter. You can also charge an optional third battery on the other side of the transmitter.
Next, connect the audio from your television to the TV talker. There are 2 ways to do this use the red and white RCA cables or the microphone. I’ll explain the microphone in a minute. To use the red and white RCA cables locate the audio out jacks found on your television side or the back. These jacks are colour coded red and white but they must be labelled as outputs. Could be audio out, monitor out, or line out. If you do not have these red and white jacks labelled as output then you will need to use the microphone.
Plug 1 end of the RCA cables to those jacks on the television labelled as output, the other end of the RCA cables will plug into the back of the transmitter. Depending upon which TV talker model you purchased you will notice 6 dim red lights or 1 bright blue light are now on. These are located on the front of the transmitter. This is indicating the system is operating properly. You should now be able to hear your television using the receiver included with the TV talker.
If your television does not have audio output jacks you can use the microphone that we supply with the TV talker. When using the microphone start by inserting the plug of the microphone into the jack on the back of the transmitter labelled mic. Now place the microphone on the television near the speaker. To do this you’ll place the microphone closest to the TV speaker. If you’re not sure where your TV speaker is move the microphone around until you can hear the loudest or best audio. Once you have found that location secures the microphone to the television using the Velcro strips supplied on the back of the microphone.
Your TV talker is now connected and ready for years of dependable service. If you still need assistance please consult the manual for troubleshooting tips or you can contact us directly at 1-800-366-7235 or email info@secure.1800doorbell.com Thank you again for purchasing the TV talker from Williams Sound.
BL200 In Cabinet Light by Xodus Video Introduction Video Transcript
Hi, I’m Aaron Goldy and today I’m going to show you how to use the Xodus in-cabinet light.
The first thing to do is install the in-cabinet light’s four c-batteries. To do this we remove the two battery housing doors and plug in the batteries. This is specifically designed to be as easy as possible with no screws and no tools required. The batteries are in, the battery housing doors are back in place and we should be able to push the button on top to see the light turned on and off; this lets us know it’s working and we’re ready to install the cabinet light.
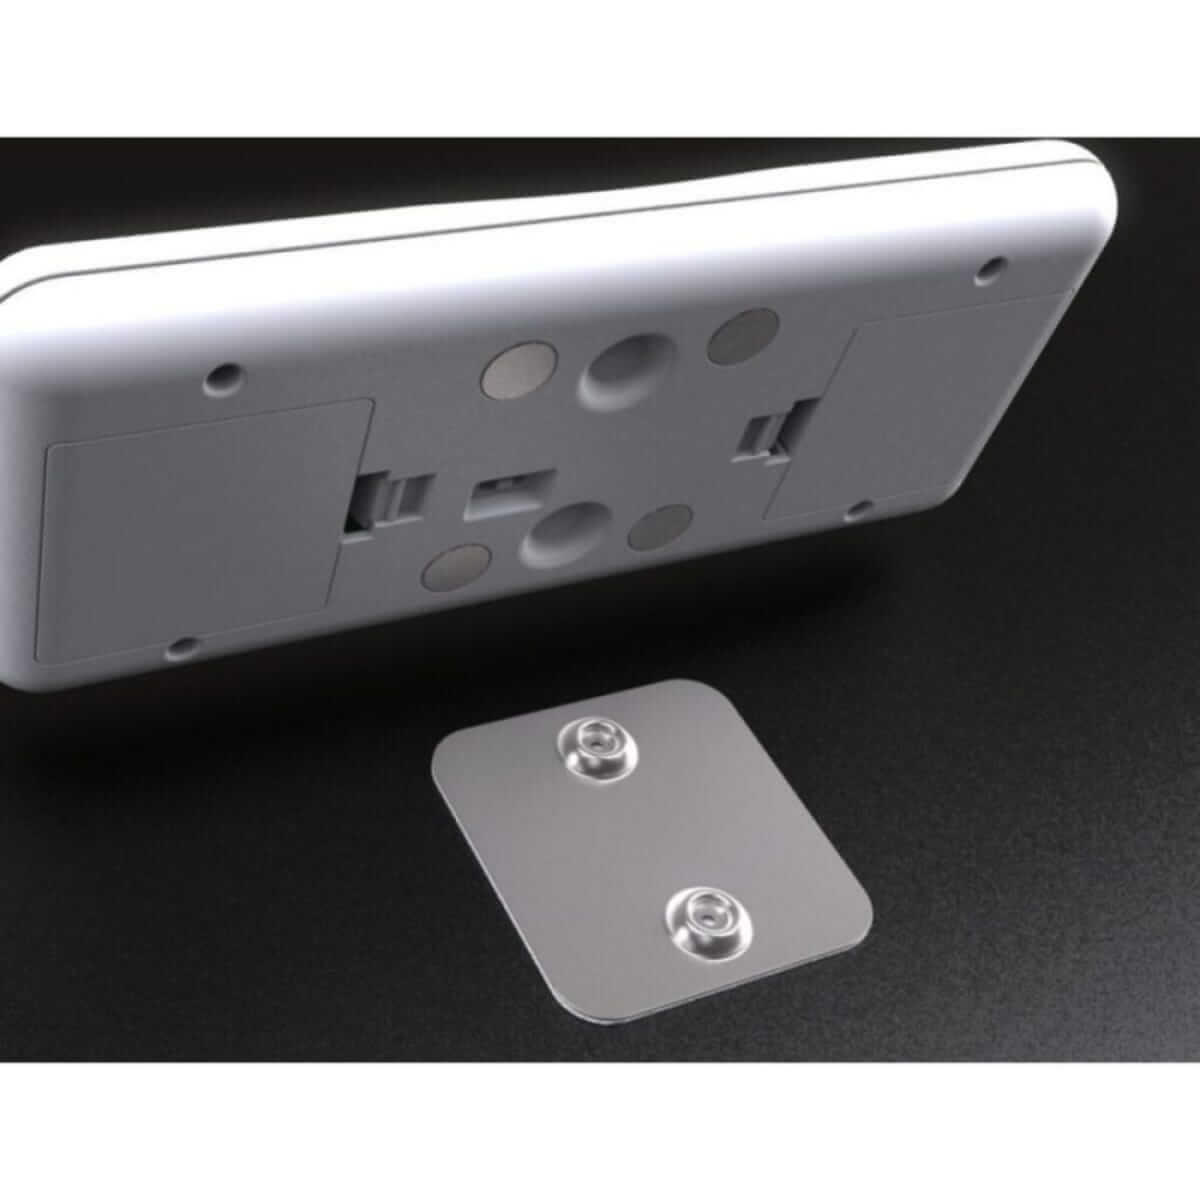
There are two mounting mechanisms included with the in-cabinet light The first is this adhesive pad which allows you to install the light without drilling any holes in the cabinet. To use the pad attach it to the magnetic mounting plate line it up inside your cabinet and press it into place. The second way to install the light is with the included screws.
These are especially useful if you are installing them on the underside of something. When using the screws the adhesive pad can be helpful if you want to hold it in place while you work. With the screws in place, I will simply attach the rest to the light. Now the installation is complete we can adjust the angle of the light source and place it directly where we want it to go.
The in-cabinet light can operate in either automatic or manual mode which you can select can switch on the back to the mounting plate. In manual mode pressing the button on the front panel will turn the light on and it can remain on for up to 100 hours on fresh batteries. This makes it useful not only as a work light but as an emergency power outage light as well. When you are done using it, press the button again to turn it off. In automatic mode, the in-cabinet light turns itself on when this sensor senses a rise in light levels from an open door, as long as outside light levels are even slightly higher than the light inside it will turn on. As you can see the light turns on almost instantaneously and will stay on for 20 seconds before shutting itself off. Of course, if you need more than 20 seconds of light you can always hit the manual on/off button because when in automatic mode, a manual button press will turn the light on for an additional minute to conserve battery power.
There are very few limitations on where the in-cabinet light can be used. In automatic mode, the light can be installed in an enclosed space like a cabinet or closet pantry and when the door is open light will turn on automatically. Put the light in manual mode You can install it virtually anywhere you need light somewhere in your home, garage, shop or even your RV don’t have an outlet the Xodus in-cabinet light can do the job.
Carlon (formerly Dimango) is a pioneer in the wireless chime business. Over the years they showed continuous improvement in their product line and this is evident in the RC3250.