1800doorbell

Category: Installation & Product Videos

  • How to Use a Video Doorbell with Your Traditional Wired Doorbell: A Complete Guide

    How to Use a Video Doorbell with Your Traditional Wired Doorbell: A Complete Guide

    In today’s smart home era, video doorbells from Ring and Google Nest have revolutionized home security. However, many homeowners still cherish the classic charm of a traditional wired doorbell. The exciting news? You can have both with the right setup!

    Understanding Power Requirements

    The foundation of a successful dual-doorbell system lies in selecting the proper ring doorbell transformer. While most wired doorbells operate on a 16V system, adding a video doorbell requires careful power planning.

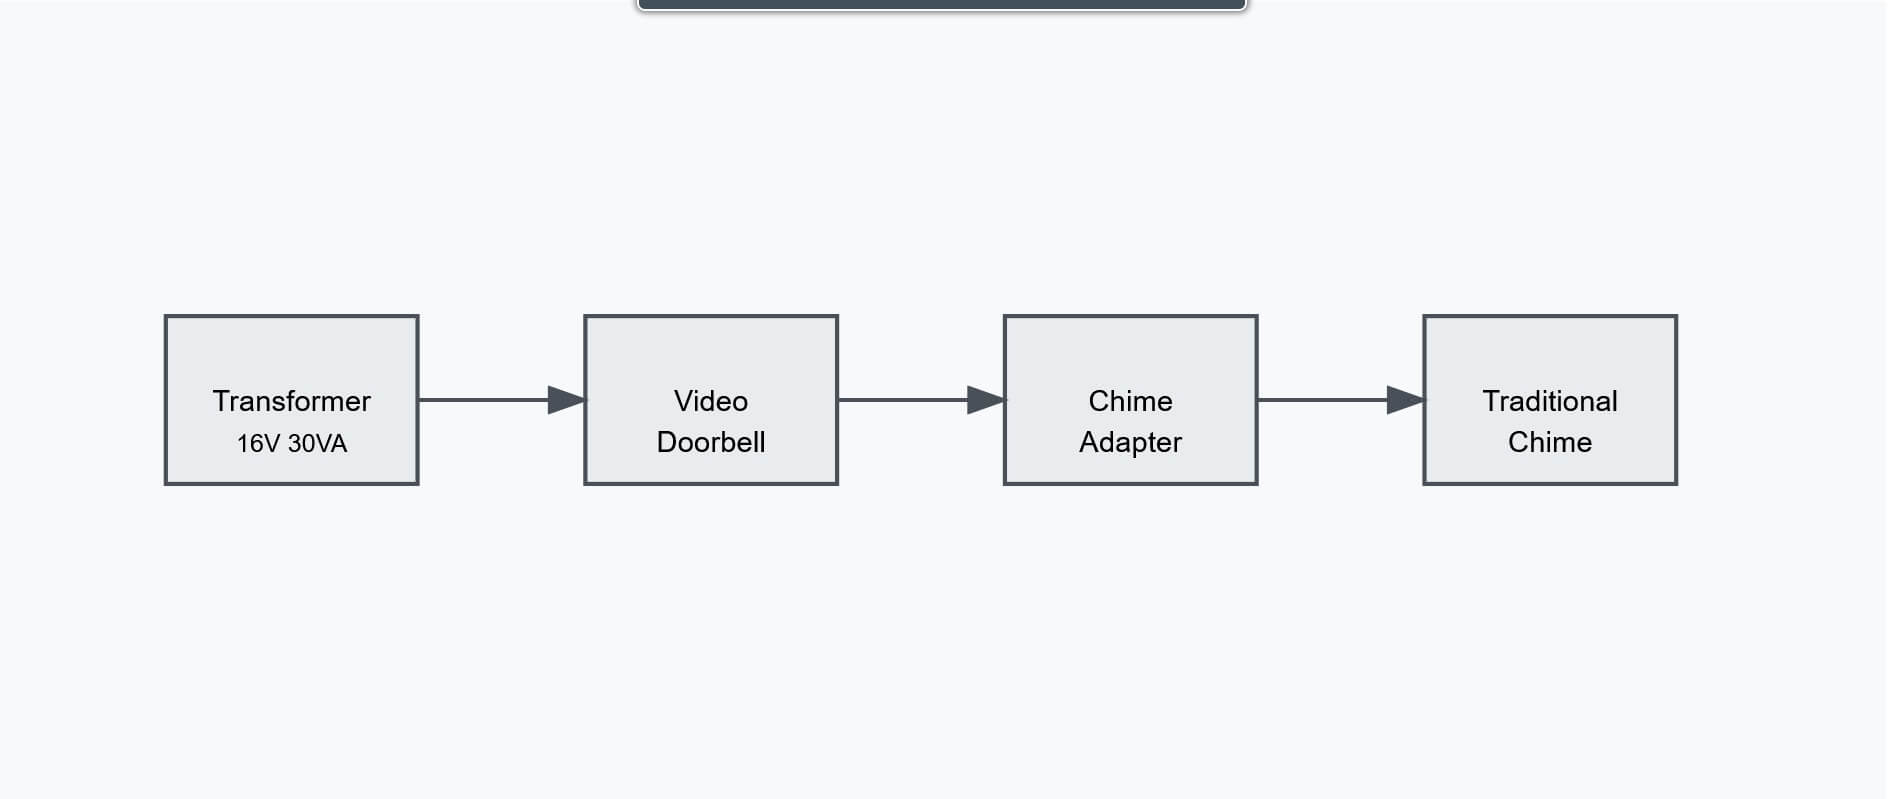
    For optimal performance, we recommend a transformer rated at 16V with at least 30VA (Volt-Amperes). The Craftmade T1630 doorbell transformer is an excellent choice that perfectly meets these specifications, providing reliable power for both systems.

    Installation Guide: Step-by-Step

    1. Assess Current Setup
      • Verify transformer specifications
      • Check wiring condition
      • Confirm video doorbell compatibility
    2. Select Your Equipment
      • Choose your video doorbell model
      • Pick a wired doorbell that matches your style
      • Secure a suitable 16V transformer (like the T1630)
    3. Transform Your Power Supply
      • Power down at circuit breaker
      • Remove existing transformer
      • Install new 16V 30VA transformer
      • Connect to home power supply
    4. Connect Both Systems
      • Install video doorbell’s power kit
      • Wire traditional chime
      • Complete video doorbell installation
      • Test both systems thoroughly

    System Configuration Best Practices

    • Always use the provided chime adapter
    • Maintain proper wire connections
    • Regular system testing
    • Keep components clean

    Selecting Your Traditional Chime

    While video doorbells offer modern features, traditional wired doorbells add timeless elegance. Consider:

    • Sound quality and volume
    • Design aesthetics
    • Weather resistance
    • Installation requirements
    • Transformer compatibility

    Troubleshooting Guide

    1. Video Doorbell Issues
      • Check transformer output
      • Verify connections
      • Confirm bypass installation
    2. Traditional Chime Problems
      • Test bypass device
      • Inspect connections
      • Verify transformer function
    3. Overall System Performance
      • Monitor transformer output
      • Check all connections
      • Consider VA rating upgrade

    Maintenance Tips

    Keep your dual system running smoothly:

    • Quarterly button cleaning
    • Annual wire inspection
    • Monthly system testing
    • Battery maintenance (if applicable)
    • Regular transformer checks

    Conclusion

    With the right setup, the perfect blend of modern security and classic charm is achievable. The key is using an appropriate ring doorbell transformer, like the T1630 16V 30VA model. This combination delivers both advanced security features and traditional elegance.

    Always consult qualified electricians for electrical work, and follow manufacturer guidelines carefully.


    Note: The wiring diagram above illustrates the basic setup of a dual doorbell system. For detailed wiring guidelines, always refer to specific manufacturer instructions.
  • Changing the Melody On the LRA-DCRXS

    Changing the Melody On the LRA-DCRXS

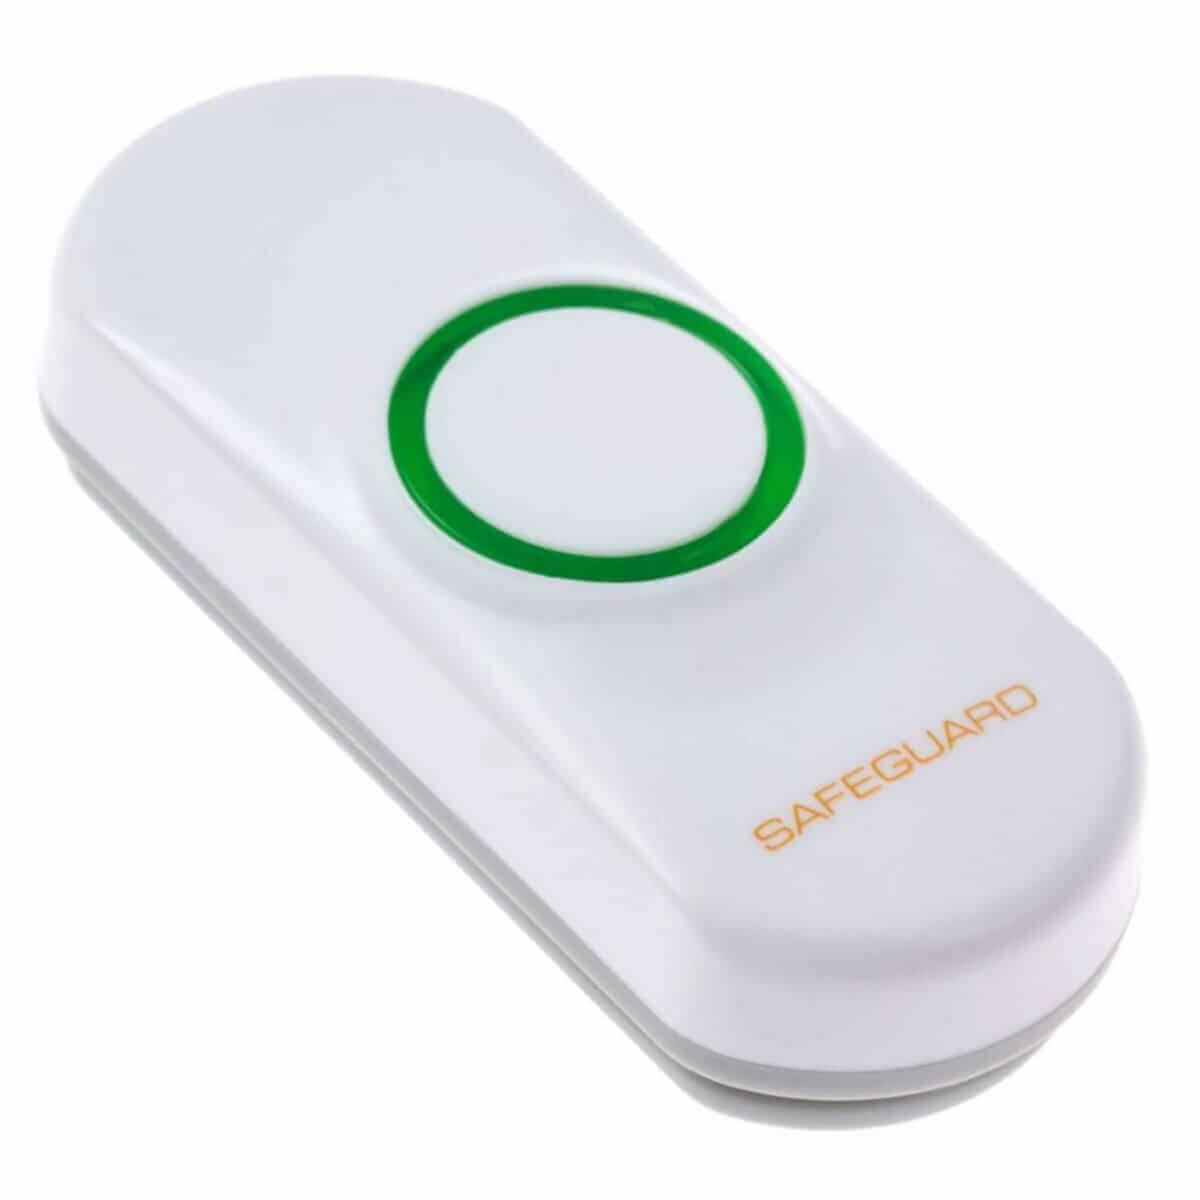
    The LRA-D1000S is a wireless door chime kit by Safeguard Supply that features 1 x wireless push button (transmitter) and 1 x plugin door chime receiver. This kit ships with the push button programmed to the receiver, which plays the basic “ding-dong” melody when triggered by the push button. 

    The receiver featured in this kit is the LRA-DCRXS and works with up to 2 x transmitters.  These transmitters can be push buttons, motion sensors, door contacts, or a door chime extender.  Most users choose a distinct melody for each transmitter paired with the receiver to distinguish which transmitter triggered the receiver.

    For example, you may have a wireless push button outside the front door.  When a visitor pushes that button, this receiver (and others you may have added) will play the basic “ding-dong” sound.  You may have a back patio door push button programmed with a different melody.  You can determine which door the visitor is at by hearing the melody played.

    Step by Step on Changing the Melody on the LRA-DCRXS Plugin in Receiver

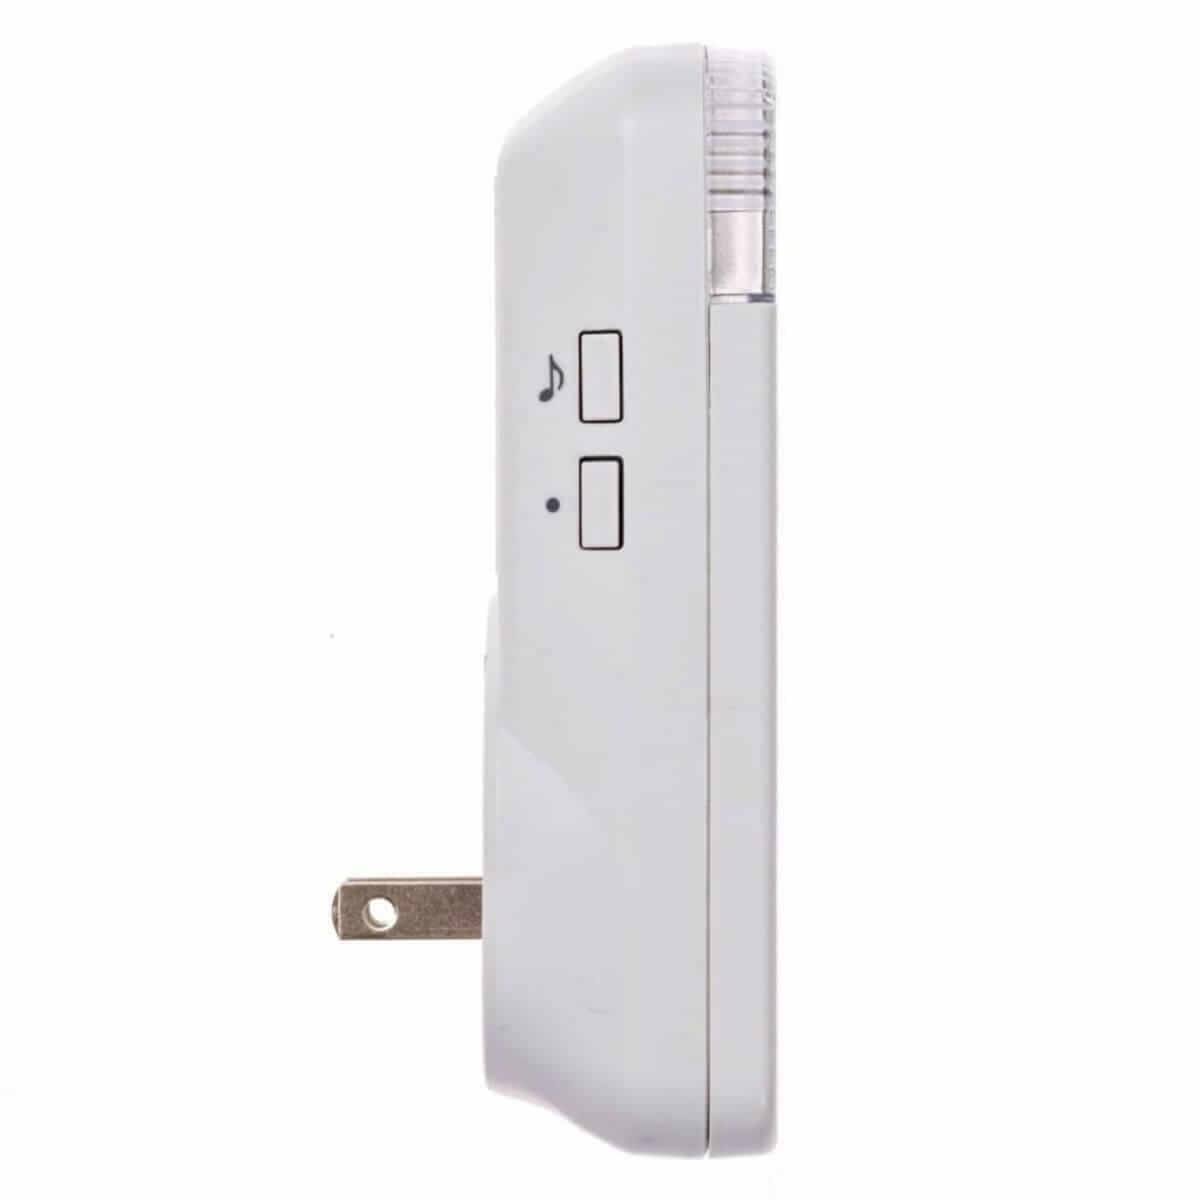
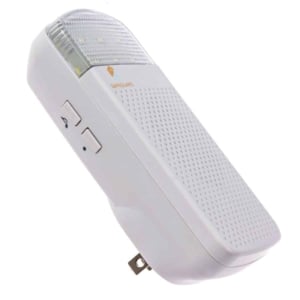
    LRA-DCRXS Flashing Receiver See Melody & Zone Buttons
    • Press and hold the mode button (a solid black dot on the side of the receiver) for approximately three seconds.
    • Release the button when the unit enters programming mode. A red LED will appear in the strobe light lens to indicate that the unit is in programming mode.
    • Press the musical note to scroll through the available sounds.
    • Once you hear the sound you want, press the push button on the transmitter already paired to that zone.
    • Exit programming mode by pressing the solid black dot until the red light disappears.
    • Watch the video below.

    The video below demonstrates changing the melody on the LRA-DCRXS.

    Audio Transcript

     Good afternoon, my name is Michael with Safeguard Supply and in this video I’m going to demonstrate how to change the melody played by the LRA DC RXS receiver. When you purchase the LRA D 1000S kit, this push button comes pre programmed to the receiver and it’s programmed to play the basic ding dong melody sound.

    If you want to change that sound, Follow these steps. The first thing you’re going to do is notice that there’s two buttons on the side of the receiver. The first is a solid dot and the second one is a musical note. We’re going to hold down this solid dot for about three seconds until you notice a red dot, a red flashing LED or a red LED will appear within this window.

    I’m going to hold down this button for about three seconds. And we see that red LED appearing in the window. And what that does is notifies you that we are in program mode. Next, I’m going to toggle through the available melodies by pushing this musical note button until I get to the one that I want.

    And then I’m going to stop pressing the button. So here we go.

    So that’s just a basic door knock sound, but that just happens to be the melody that I want. So I’m going to take my push button again and I’m going to push the push button. And when you hear those two quick, short tones, that lets you know that it has accepted the programming. And notice that that red light is still on.

    So the next step is just to push this solid dot button again. The red light disappears. That notifies you that we have successfully exited programming mode. And now the system is ready to use. So I’m going to take the push button just to test this out. And the expectation is that it plays this basic knock knock sound.

    So I hope this helps. Please call us at 800 366 7235 or email us at info at 1 800 doorbell. com if you have any questions. Thank you.

  • Programming Push Buttons to the LRA-DCRXS Plugin Receiver

    Programming Push Buttons to the LRA-DCRXS Plugin Receiver

    This video demonstrates the basic programming of 2 LRA push buttons to the LRA-DCRXS plug-in receiver.

    Please note, when ordered as a kit, the LRA-D1000S, the included push-button is programmed to the receiver from our warehouse.  Follow this video to program a second push button.

  • WC180-SS Flashing Chime Video Product Review

    WC180-SS Flashing Chime Video Product Review

    secure.1800doorbell.com offers a complete selection of wireless door chimes. The WC180-SS Wireless Door Chime with a flashing strobe light is the perfect solution for the hearing impaired or in noisy work environments.

    This unit does not require wiring. Just plug the receiver into a convenient wall outlet, mount the push button, and you are ready to go. The WC180 has a bright flashing strobe light. Three sound options are available: ding, ding-dong, and a four-note Westminster chime. You can use different chime sounds for the front, back, and side doors.

    Strobe Light Wireless Doorbell Product Video Demonstration

    There are thousands of privacy codes, so you’ll never have to worry about interference or other push buttons triggering your receiver. In addition, you can add up to 58 different sensors, whether additional push buttons, such as the SS111 wireless push buttons, or even magnetic door contacts, such as the SS131, and assign a unique sound to each of them. There is no limit to the number of plugin receivers, the SS155 you can add throughout your home. No matter where you are in your home, you can see and hear when someone is at your door!

    The WC180-SS ranges up to 600 feet, depending on the construction of your home or business. Before mounting, hold the push button where you want to install it and test the operation. Please note that if you are mounting the push button to a metallic or concrete surface, use a one-eighth-inch to one-quarter-inch wood spacer between the frame and the button. Add-on wireless buttons are available for additional doors. That’s part number SS111.

    Video Transcript (Click Button to Watch Video)

    Are you tired of missing deliveries or visitors because you couldn’t hear the doorbell? Do you have a noisy environment or someone in your household with hearing difficulties like I do? Then this wireless doorbell kit is for you. This is the model WC 180SS. It’s from Safeguard Supply and it’s the perfect solution for missed opportunities.

    It comes with a bright flashing strobe light that lights up the room and believe it or not, it has 58 chimes and melodies to choose from. You’ll never miss a visitor or a delivery again. So let’s take a closer look. Introducing the WC 180SS wireless doorbell kit. It’s designed for clear and reliable notifications.

    Here’s what makes it stand out. This LED strobe light is so bright it lights up the room so you’ll never miss a visitor. I hope you never miss a visitor or a delivery again. This 15 times per ring and it’s perfect for noisy environments or the hearing impaired. It has 58 chimes and melodies. And if you notice, There’s no wires, which means no hassle.

    You simply plug in the receiver to any outlet and mount the push button next to the door outside. You can use anchor screws or the adhesive tape that it comes with. The wireless range extends up to 600 feet, and this is going to ensure that you can hear the chime and see the flashing from across your home or your business.

    You can purchase more pushbuttons to cover more entrances and assign different chimes to each of them so that you know where the visitor or your delivery is. You can also purchase multiple receivers for larger properties so that every area is covered. There are thousands of privacy codes to prevent interference with other wireless systems used in the privacy settings.

    So let’s set it up. Setting up the WC 180SS is a breeze. All you have to do is plug in the receiver to a wah outlet. preferably where you can see the light and hear the chime. Choose a chime or melody by pressing the music change button on the receiver. Now if it’s flashing, you may need to turn up the volume by pressing the volume button.

    As you can see, you can control the volume to be very loud or very soft, or not at all. Okay, so now let’s choose a chime melody by pressing the music change button on the receiver and cycle through the chimes to choose one.

    Once you hear the sound that you want, then you’re done. Next, we’re going to put the receiver in pairing mode by pressing and holding the volume control button for five seconds.

    You’ll hear a short ding dong and LED strobe will start flashing. This means that the receiver is in program mode. When you’re ready to sync, remove the plastic tab from the push button to activate the battery, and then press the center of the button to sync it together.

    You will see that the doorbell receiver will flash and play the selected melody that you chose. Now let’s test it out. Find a spot where you want to mount it, and in this case it will be where the old push button was, and for demonstration’s sake, I will use the adhesive tape.

    The great thing about the WC 180SS is that it’s customizable, like the volume control, or the 58 chimes and melodies, and if you have a low battery, it has a low battery indicator indicator. That when you push the button, it starts flashing that way. You’ll never be caught off guard, but these batteries are built to last.

    And lastly, you can expand your system to multiple entrances because it works with other SS series of transmitters and sensors by safeguard supply. So there you go. You’ll never miss another visitor or delivery at your door again. So get yourself the WC 180 SS wireless chime and strobe light today. And enjoy the peace of mind knowing that you’ll always be alerted when visitors are at your door.

    Order now from Safeguard Supply and experience the difference.

  • DCMA-4000 Driveway Alarm Video Overview

    DCMA-4000 Driveway Alarm Video Overview

    DCMA-4000 Wireless Motion Alert Kit by Dakota Alert Video Overview

    PLEASE NOTE: This video is for the DMCA-2500 by Dakota Alert.  Dakota has replaced this product with the DCMA-4000.  The features are very similar with these noted differences:

    • Range from transmitter to receiver is up to 5,000 ft.
    • The receiver does not have c-form relays or 12v dc output.
    • The receiver plays 12 different tunes or melodies.

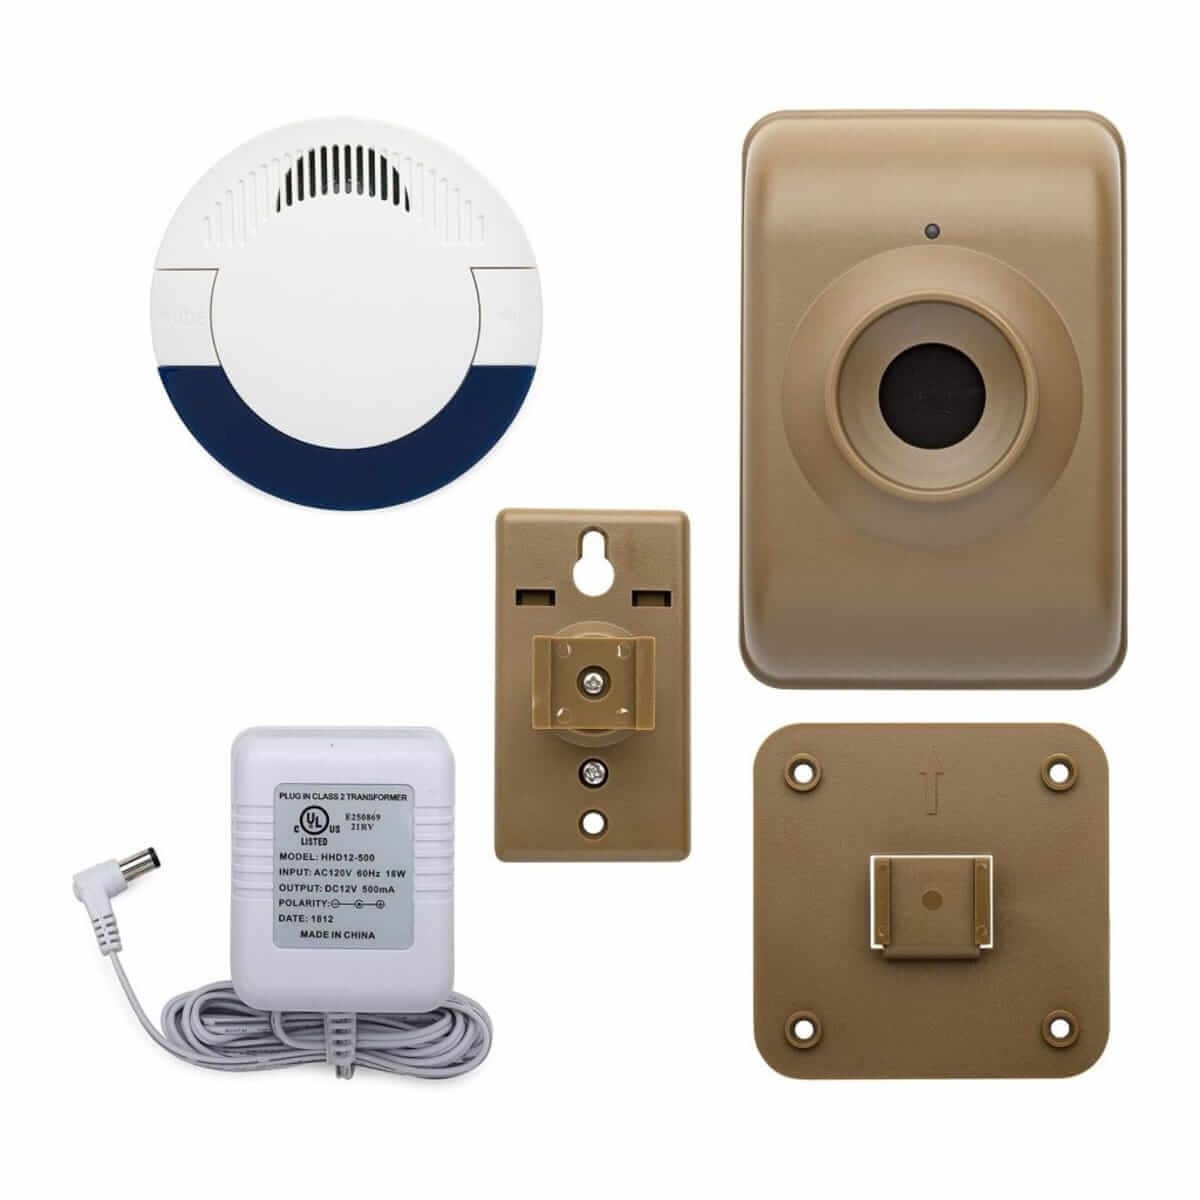
    secure.1800doorbell.com offers one of the most popular and cost-effective long-range wireless motion detectors on the market, the DCMA-4000 Wireless Motion Alert Kit by Dakota Alert.


    This kit includes one transmitter and one receiver. The DCMA-4000 Driveway Monitor Kit could be used by homeowners and business owners alike as a driveway alarm or entrance alert.


    The wireless motion detector sensor transmitter will detect a person or vehicle passing by out to about 50 feet and then send the signal back to the receiver up to half a mile away depending on the local terrain. You can add additional sensor transmitters for the DCMA-4000 Kit. The DCMT-4000 wireless sensor transmitter can be used for other locations such as a second driveway.

    The DCR-4000 is the receiver for the DCMA-4000 system. The receiver will play one of four different tunes that are selected at the transmitter so that different zones can be distinguished. The receiver has four C-relay outputs and one 12-volt DC output allowing you to tie in additional products to the receiver which includes a siren, a strobe light, or a bell.


    You can also add additional receivers for the DCMA. The DCR-4000 receiver can be placed in other buildings or locations and will each sound at the same time.


    For more information on the DCMA-4000 Wireless Motion Alert Kit and accessories, please visit us at secure.1800doorbell.com or give us a call at 1-800-366-7235.

  • Video Demo – Changing Privacy Codes on Carlon Door Chimes

    Video Demo – Changing Privacy Codes on Carlon Door Chimes

    Changing the Privacy Code on Your Carlon Chimes Video Transcript

    Hey, this is Michael with 1800Doorbell.com a Lord Henry Enterprises Company. And what you see in front of me is the RC3250 Wireless Door Chime Kit from Carlon.

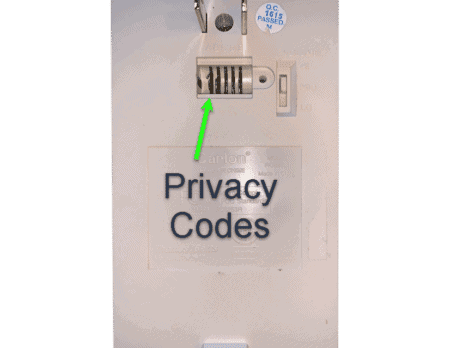
    And what we’re going to discuss in this video are privacy codes. And essentially what privacy codes do are enable you to change the wireless operating frequency of the product. If you’re getting interference from other devices or let’s say you have a series of pushbuttons and receivers in your home or office and you want to isolate certain ones within themselves you would change the privacy codes.

    So we got the two pieces of the RC3250 kit here we have got the RC3301, and then here are the RC3253 which is the receiver or the push button. You’ll notice there is take a little screwdriver and push that in and the plate pops off. And what you will notice are a series of little circular wires product lines from Carlon. And on the back with a screw.

    What I am going to do is unscrew this. And then pop off the door. And what we’re going to see is some corresponding wires in the same number as these. And changing the privacy code is as easy as taking something like a fingernail
    clippers and snipping wires on the transmitter and then snipping the wire of the corresponding wire 1 and 5 on the transmitter I need to so that is going to ensure that both of these frequencies.

    If you have got a series of products in your home or office and you won’t make sure they’re only communicating with themselves. Then you would just match these privacy codes with one another. By default, these wires are not
    snipped, and obviously, once you snip the wires you can’t go back. And so if you accidentally snip that same wire or combination of wires on the receiver as well. This is going to prevent neighboring push buttons from interfering
    with your system and any other devices that could happen to be operating on the same frequency.

    So this was a quick video please give us a and we would be happy to give you some help on this product or any other product line. Most of them operate on the same premise its dip switches are a little different depending
    on the product line. Thanks and have a great day!

  • SS4610 Motion Activated Chime Intro Video

    SS4610 Motion Activated Chime Intro Video

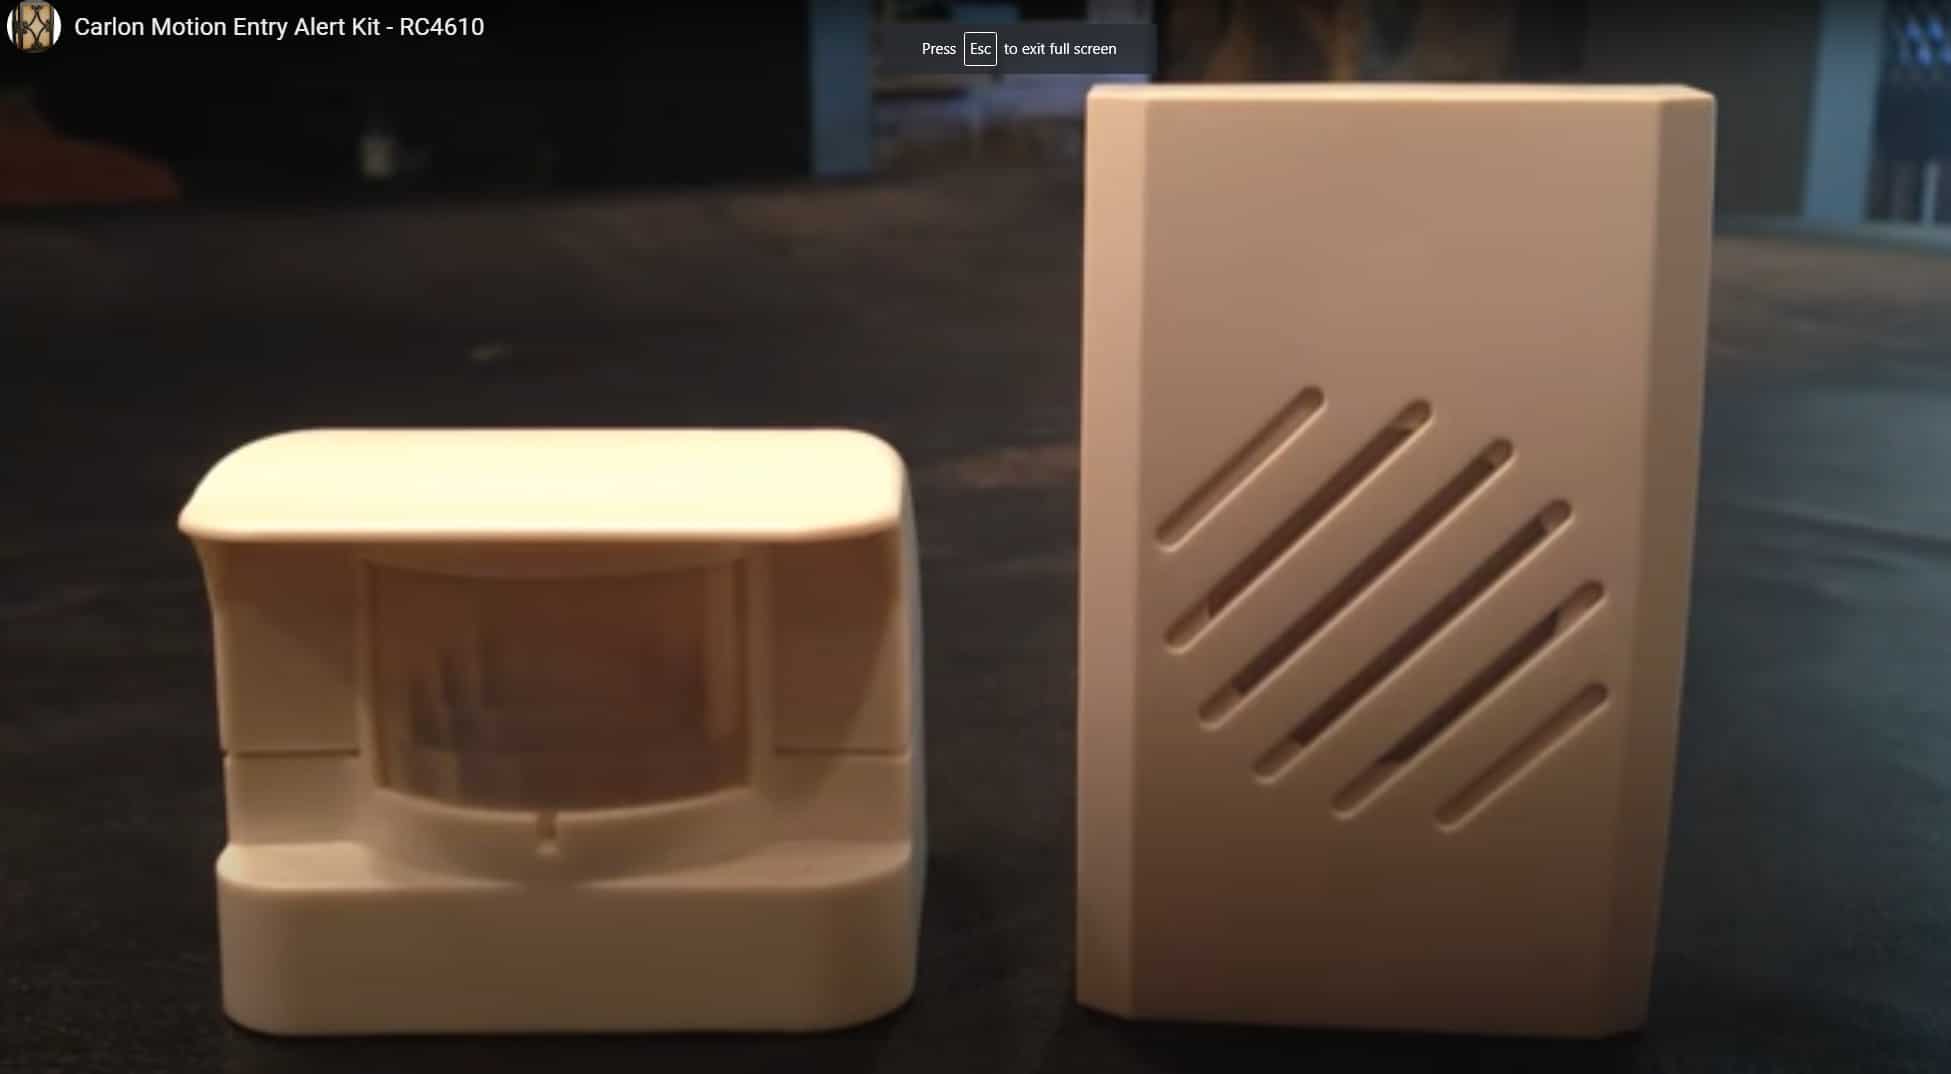
    The SS4610/RC4610 Motion Activated Chime by Carlon is an inexpensive, simple-to-install wireless entrance alert. It will monitor an entrance and send a wireless signal up to 150 ft away. This device can be expanded to cover multiple entrances as well. You also have the option to select different tunes to tell which entrance is sending the alert. The best part about this device is it will install in minutes with absolutely no wiring needed!

  • BL700 Motion Activated LED Deck Marker Lights with Low Glow Technology Introduction Video

    BL700 Motion Activated LED Deck Marker Lights with Low Glow Technology Introduction Video

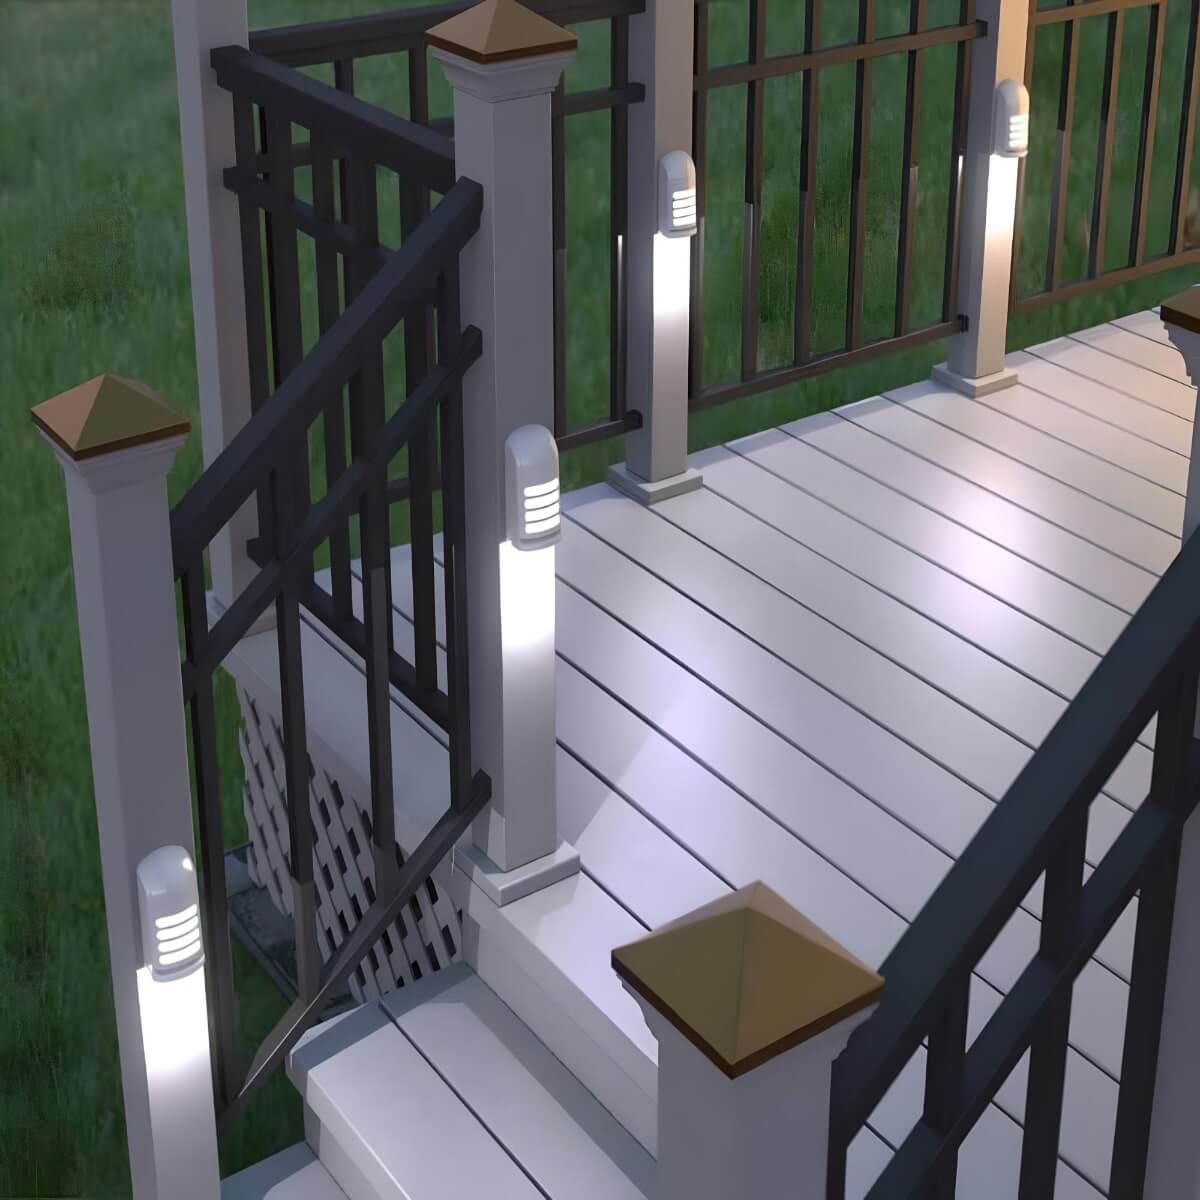
    This is a great product, something I use to mark the post of my back porch. I didn’t think ahead and get lighting installed around and on my porch posts. In hindsight, I’m glad I didn’t because I know I would have liked these better. This is a great product demonstration video that’s going to make you want to pick up some of these great products!

  • BL600 Battery Operated Deck Marker Lights Video Demo

    BL600 Battery Operated Deck Marker Lights Video Demo

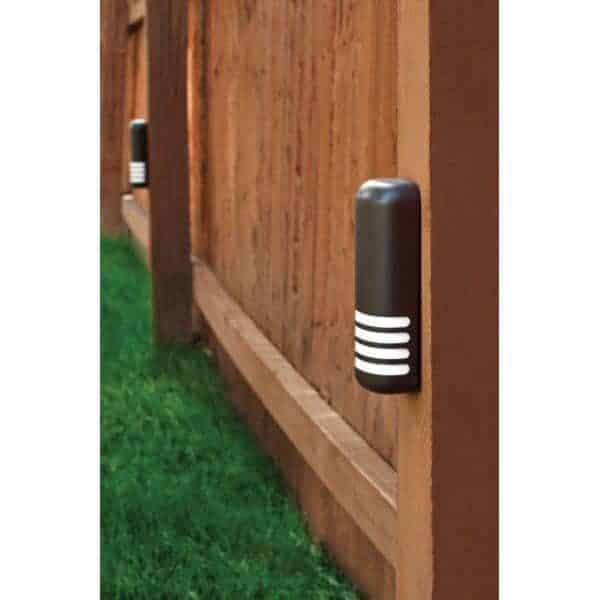
    The BL600 Series of Battery Powered Deck Marker Lights are an inexpensive and simple solution to landscape lighting and deck lighting. Since these lights are battery-powered, there is no wiring required at all for installation. The lights use 3 AA batteries (not included in the package) and have a battery life of up to one year. The light also uses LED (light-emitting diodes) will last a lifetime and never have to be replaced

  • BL404 Mini Guide Lights Video

    BL404 Mini Guide Lights Video

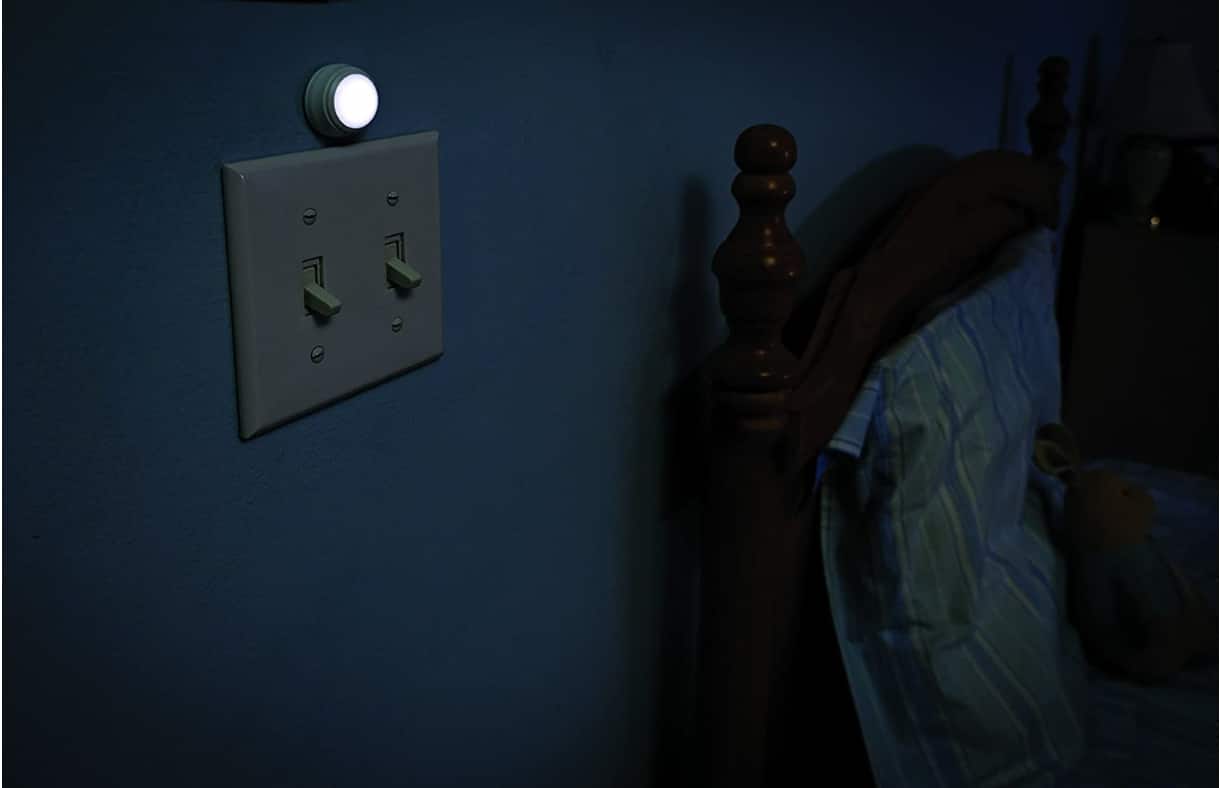
    The BL404 is a battery-powered mini guide light for your home or office. These lights are completely wireless and require no tools for installation. The mount these lights you simply use the re-usable adhesive that comes included in the packaging.

    This Mini Guide Light is powered by a CR2032 Lithium cell battery. Thanks to this devices use of “Low Glow Technology” this battery has a typical life of 1 year. The light uses LED bulbs, so they will never need replacing.